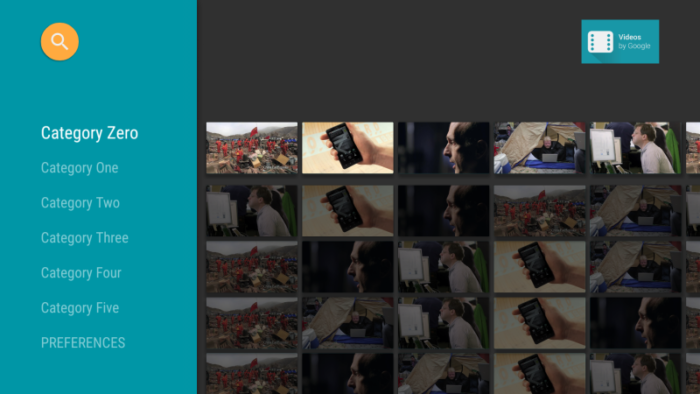
こういったユーザーが”気軽に”操作できるようにするための基礎プラットフォームとしてAndroid open source project(AOSP)からLeanback Support library (android.support.v17.leanback) が提供されている。ちなみにここでいうLeanback(リーンバック)とは、”後ろにもたれる”というような意味。ソファーにもたれながらでも、TVを簡単に操作できるようなUIが理想ですよーという事だろう。
このLeanback Support libraryを使ってアプリを開発することで、このようなUI思想に基づいたアプリが作れるというわけだ。ということで、本稿では主にこのLeanback libraryの使い方を紹介していく。
想定する読者層
Androidアプリは開発したことがあるが、Android TVアプリに関しては何も知らない
初心者~中級者向け
使用するエディタ
Eclipseは2015年にサポートが終わっているので、 Android studio を使って開発を進めていく。Androidアプリ開発では今後標準となるIDEでとてもつかいやすいので、まだ使ったことのない方は、ここからAndroid Studioをダウンロードして設定しましょう!ちなみに、自分は英語版のAndroid Studioをそのまま使っているので日本語版の方は適宜読み替えて読み進めていただければと思います。
注:なお、本稿で説明するソースはAOSPで公開されている android TV サンプルソースコードが元ネタで、ただこのソースコードをもとに、より細かく説明しているだけです。
新しいAndroid TV アプリプロジェクトの作成
Android studio
起動
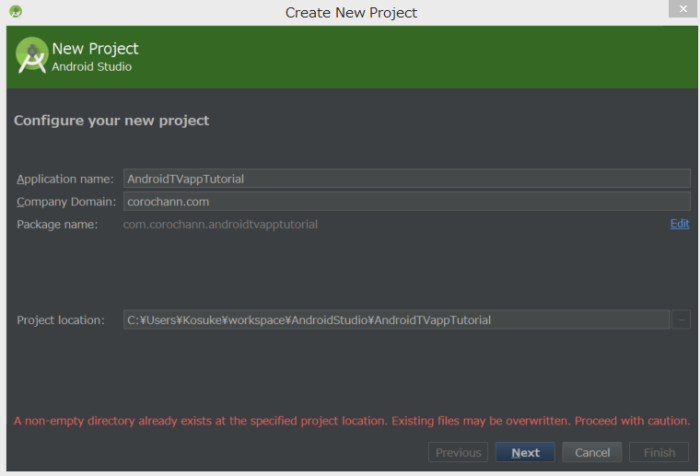
New project
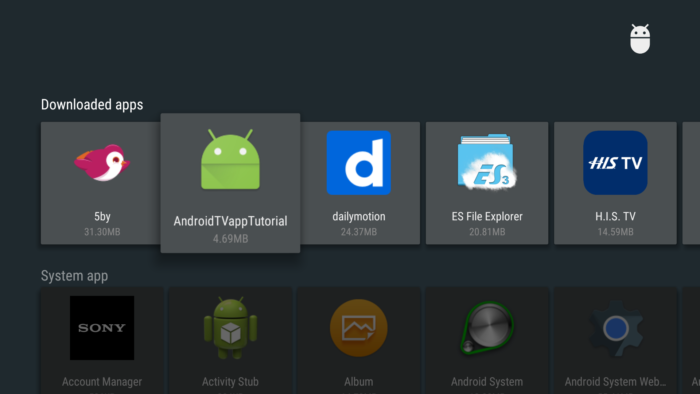
Application name: AndroidTVappTutorial
Company Domain: corochann.com ( or you can use your own domain name )
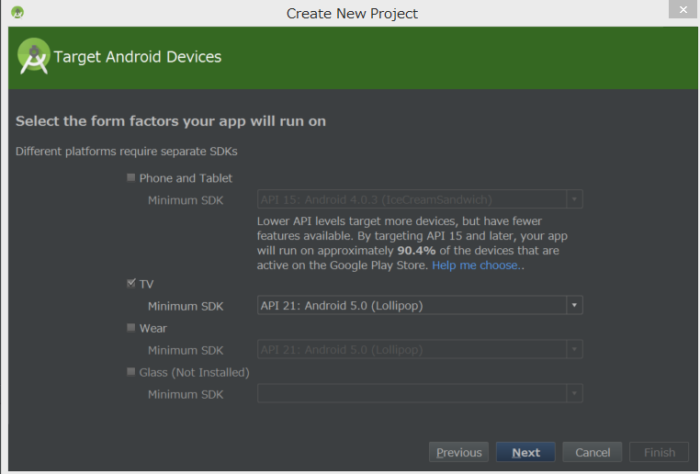
Target Android Devices
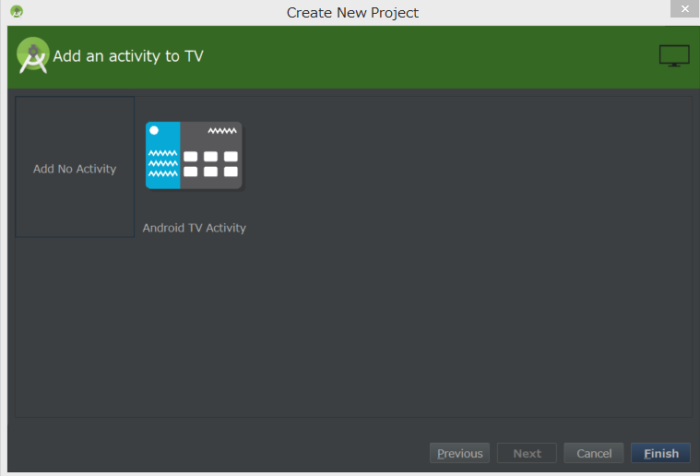
Add an activity to TV
“Add No Activity” 選択後、Finish
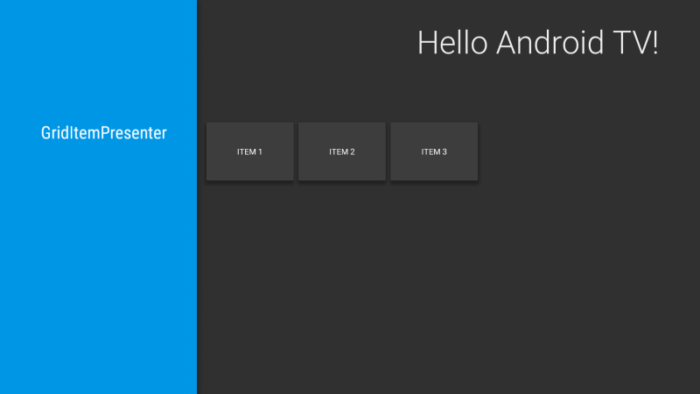
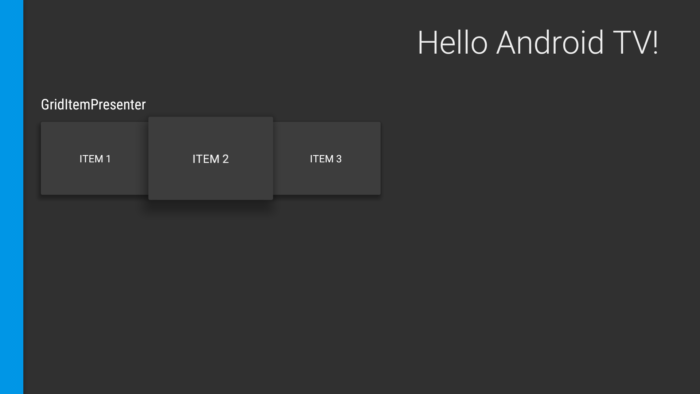
するとAndroid studio が自動でAndroidアプリ開発を進めるにあたって必要な最低限のソースコードを自動生成してくれる。
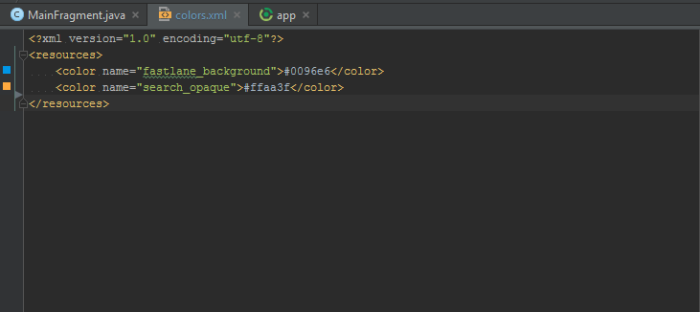
すると、Android studioはJava class と layout/activity_main.xmlを自動生成してくれる(res/menu/menu_main.xmlも作成されるが、Android TVアプリでは使わないので無視)
* 注: Android Studio で、”Android TV activity” という項目も見つけることができる。これを選択すると一気に大量のファイルが自動生成される。Leanbackライブラリの各種機能がサンプル実装された状態でのファイルが生成されるので、参考ファイルとしては役立つんだけれど、一度に大量のファイルが生成されるので、どのファイルがどの機能とつながっているのかいまいちわかりづらい。 ということで、本稿ではこれらの機能を一つずつ実装していくことによって、理解を進めていきたい。
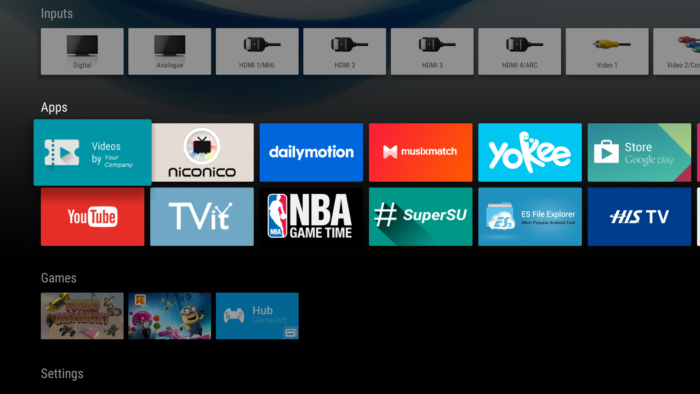
Android TV と普通のTVの大きな違いはアプリがどんどん追加され楽しめること。特にAndroid TVではゲームアプリをインストールすることができるのでTVだけでもゲームを楽しむことが出来る。無料アプリも多く見つけることができるので暇つぶしにはちょうどいいと思う。ただし、はまりすぎるとアプリ内課金することになるが、、、ここでは、ゲームパッドを買わなくても楽しめるAndroid TVアプリを紹介する。
It is very simple, “endless arcade hopper” game. Yes, it is endless. You can try and continue as far as you can go. There are many characters, e.g. pack man, chicken, etc. After you get coin in the game or purchasing, you can play the game with these characters.
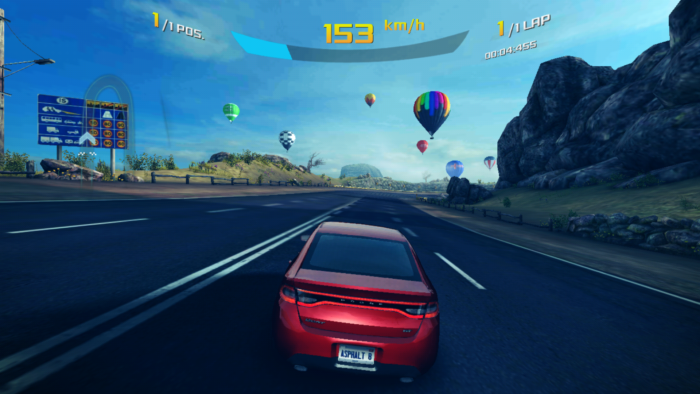
The exciting race game! As you can see, the graphics is so nice and music is also very dynamic and exciting when you play with the TV! I feel it is really good to play with big TV display, rather than just a hand phone.
There are many racing games on Android TV Google Play Store, but many of them requires game pad to play. The game made by Gameloft is very well-made in detail. It can be played without game pads or you can play with remote controllers as well. When I play with SONY BRAVIA, it detected remote controller, and shows the Tutorial specific for this remote controller.
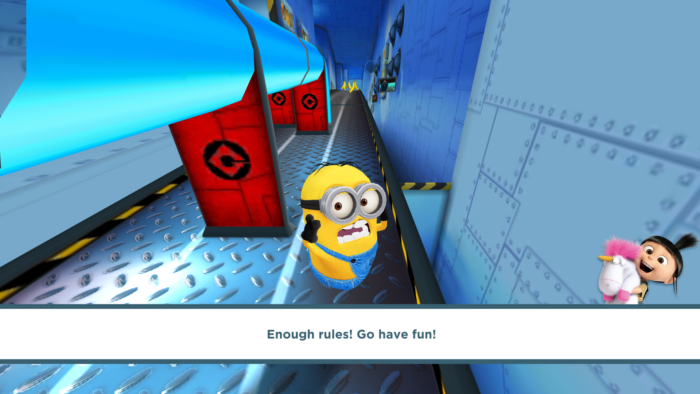
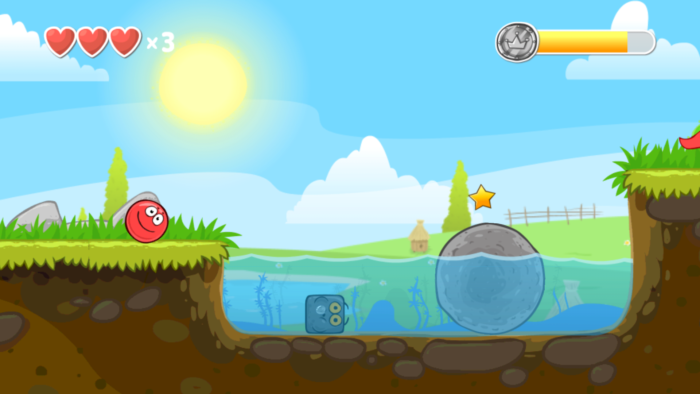
Simple runner action game as well. But it is more simple that only “center” key is enough for playing game. Nice thing is you can enjoy a game. Even you die in the game, you can continue without pay extra money.
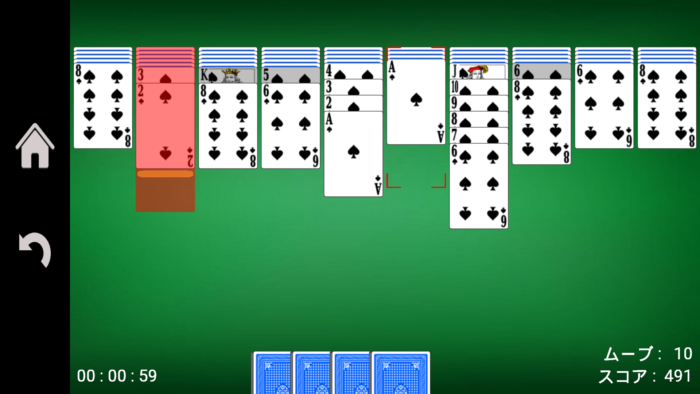
The card puzzle game, as you can easily imagine from image. At first I was thinking of a game Solitaire, but it was different. However, the rule is similar so you can play without any explanation if you know the rule of Solitare (and FreeCell). This game is not so difficult, I took around 30 min to win one game. See Wikipedia page for the details.
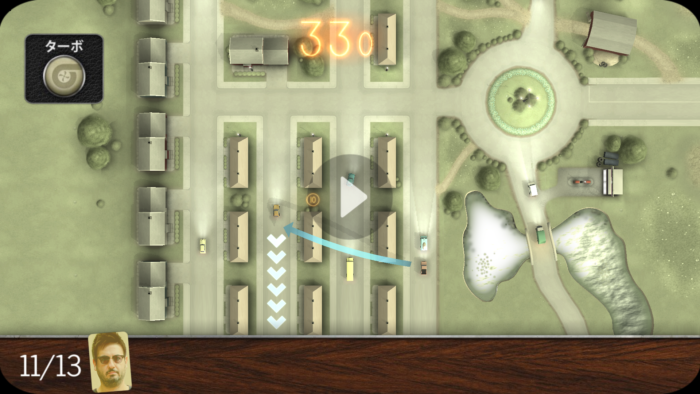
This is a driving game, but not racing game. It was introduced as “A strategic driving game” in the Google Play Store. So why “strategic”? This game is unique that you will drive tens of cars in the same map, and at the time when you drive new cars, old cars which you have driven interferes the way. You struggle because of your driving… The map made like 1970’s town together with the matching background jazz music makes this game atmosphere cool!
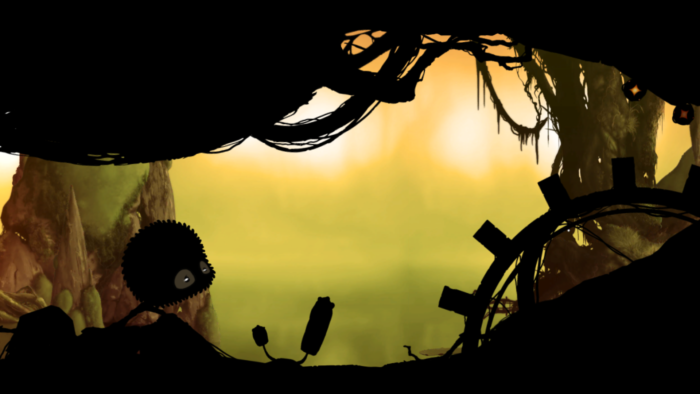
You can play the game only left and right key, thus without game pad. But you feel comfortable with gamepad, since X key can be used to rewind current stage.
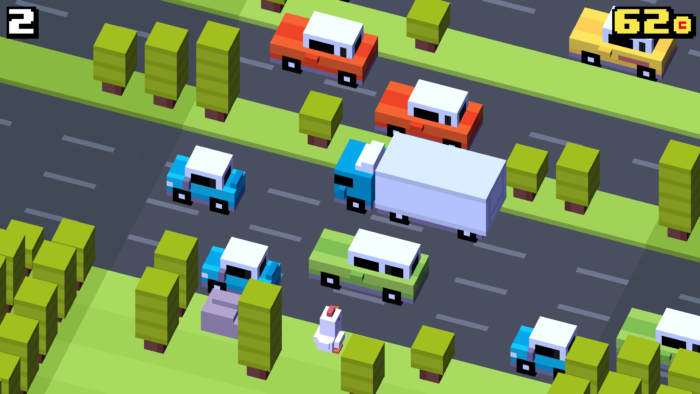
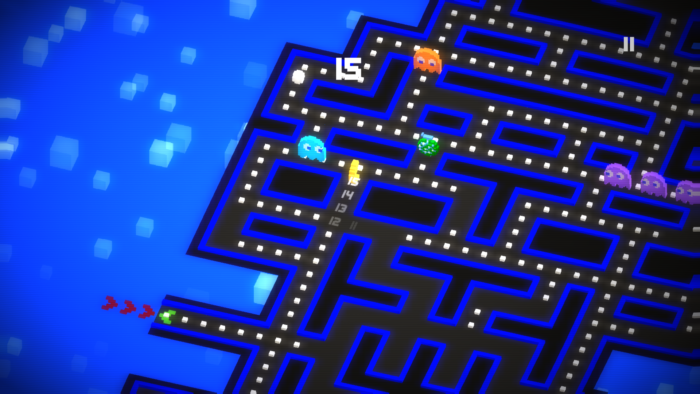
I think no need to explain what PAC-MAN is. This is derivative version of PAC-MAN, that aims to go up upper and upper of this endless stage, which is similar to Crossy Road.
The game is free without power up, and you can pay as an option to get extra power up.
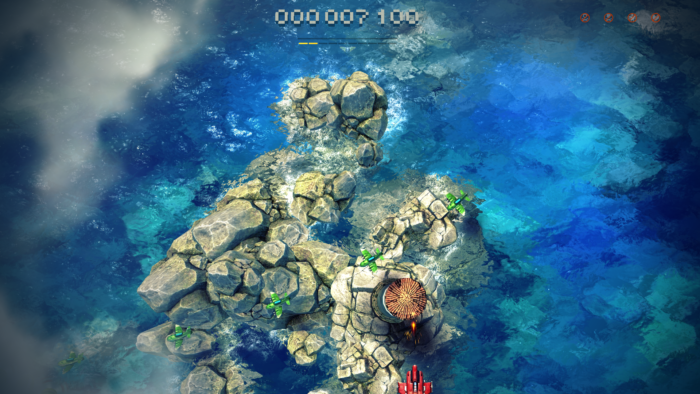
Shooting game. The number of install looks small, this is just because the game is provided only for Android TV devices, while all other game apps above are provided both Android phone and TV devices.
You can also enjoy multi-player play. For example 1P uses remote controller & 2P uses game pad.
I could notice current game market trend during summarizing this post. Now game is made for cross-platform. Most of the popular game app is not only for Android TV, but it is for PC, Play Station 3 or 4, Wii, Android phone/tablet etc. So, big game software companies are just importing existing game into Android TV platform. Since it was already made for other platform (using a big development cost), the quality of these cross-platform game is usually quite nice.
Importance of beautiful graphics and background music/sound
After experiencing to play Android TV games, I felt Android TV game and Android phone game are different. We can enjoy dynamic, beautiful graphics with big screen. Just a difference of screen size? I would say the difference of screen size provides different user experience!!!
Also, the importance of sound becomes much higher. You might play Android phone games with mute, however, you definitely play Android TV games with (maybe big) sound. Especially for racing games or shooting games, the dynamic sound makes user’s emotion more exciting. Additionally, home theater system provides you much presence for the game.
Simple game is also just fine
As written above, most popular apps are high quality. Graphics is smooth 3D, and sound is also created deeply to express game world’s atmosphere.
This is an opposite comment from above, but there also is a demand to play simple, easy game for just enjoy a slice of time. It is possible to reach more than 1 Million download with simple game apps (like Jelly king, PAC-MAN), 1 Million is quite enough number isn’t it?
What kind of game is not yet on the Android TV market?
There already is action, racing, shooting, simple platform game on Google Play Store, even though the future market growth of Android TV market is not known yet.
As one opinion, I felt Music game is interesting. I found the app “Radiohammer Station” on Google Play Store, but it was not optimized for Android TV device yet. I could not play with game pad key.
Another category is Social game like FarmVille. Especially, it is a interesting topic to consider game for women. For example, housewife is alone in the house on the daytime of weekday, they are important target for TV market to consider.